How to create your custom AI image generator
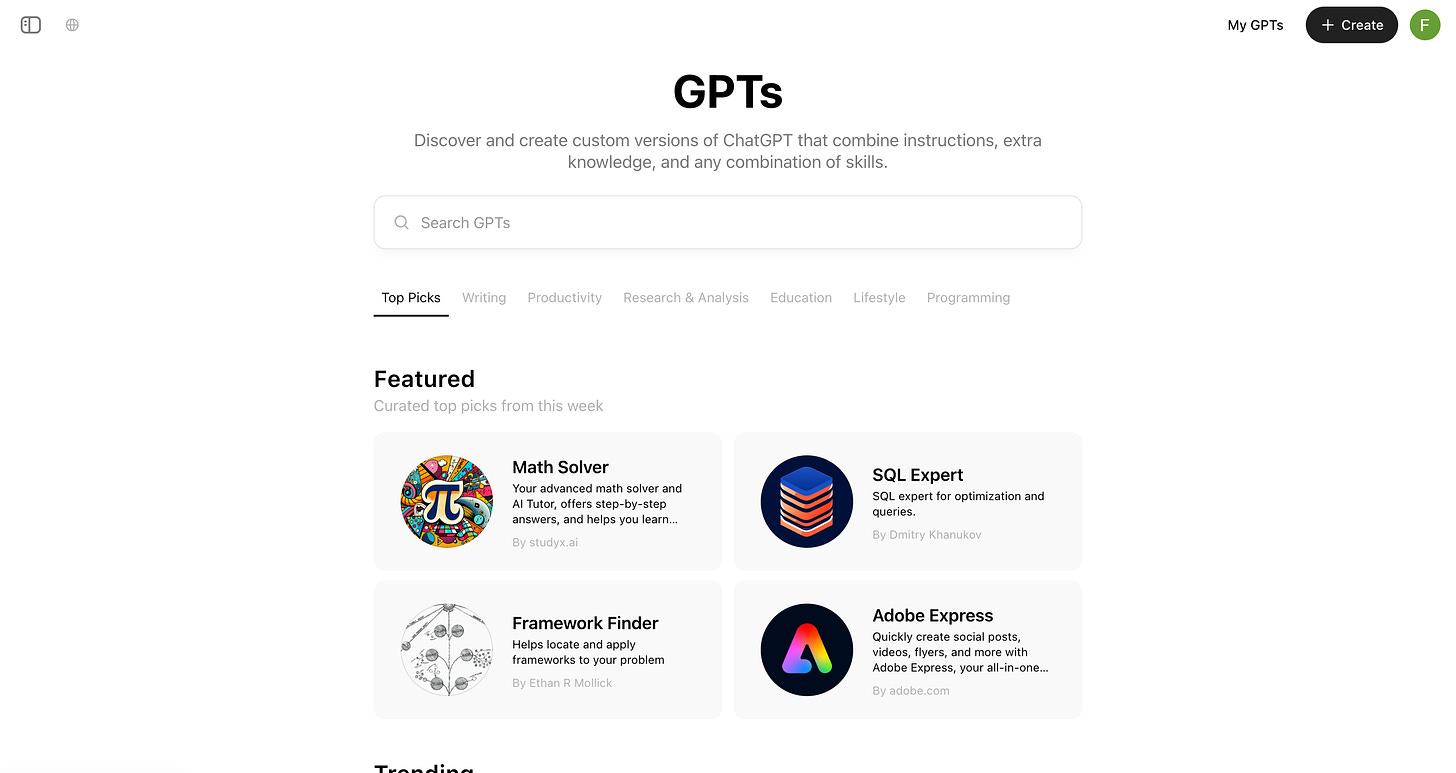
Generate consistent images without writing the same prompts every time

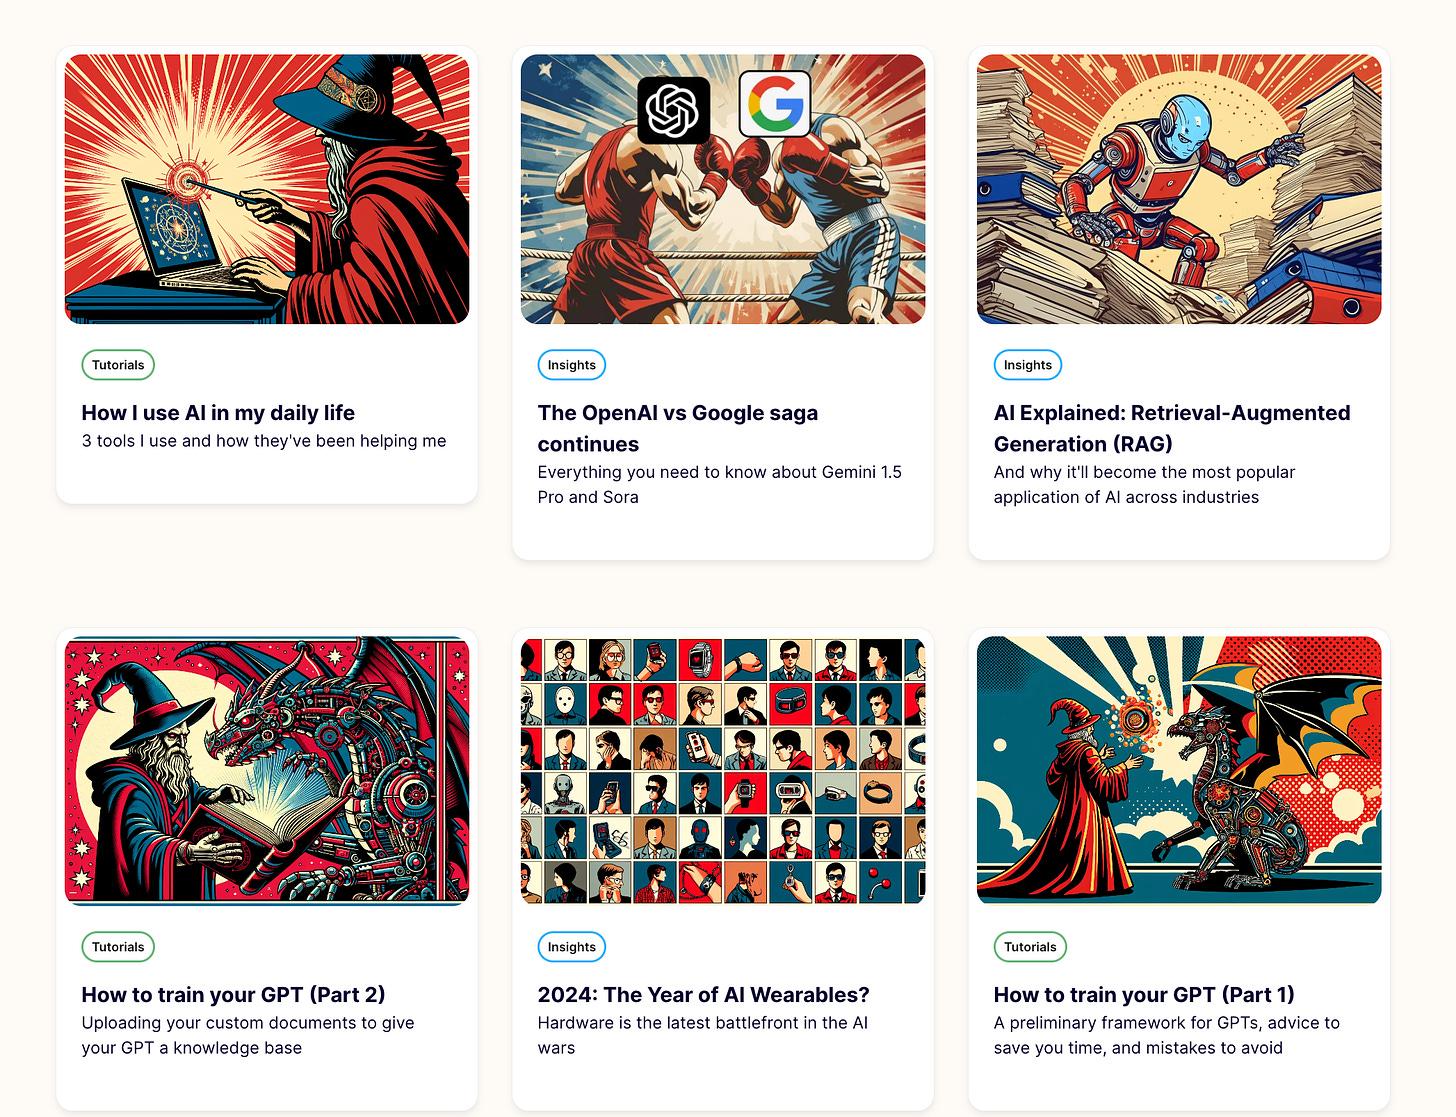
As I’m rebuilding the new Year 2049 website (still a work in progress!), I realized that my article cover images were all over the place.

They lack consistency. They lack a brand identity. Sometimes I use stock images. Sometimes it’s memes. I even make some from scratch to illustrate a specific concept. By the time I finish writing something, I’m too tired to think about the cover image so I just make/use whatever’s on my mind.
I decided to change my ways. I wanted them to look better, and give them a similar look and feel. And I did:

Ah yes. Much better.
I’ve written over 70 articles in the past 3 years, and I plan on writing a lot more in the future. I didn’t want to keep rewriting the same prompt in ChatGPT every time, so I built a custom GPT to generate images in the specific style that I wanted.
It’s easy to set up. Let’s dive into it 👇
Step 1: Create a custom GPT

You’ll only be able to create a GPT if you’re a ChatGPT Plus user, but anyone on the free plan can use your GPT if you make it public or share it with them. This is useful if you want multiple people to use it.
Step 2: Decide on your art style
The biggest decision you’ll need to make is the specific art style you want your images to be in. This is the main factor in creating a consistent theme and brand for your work.
For me, I love comics and pop art style images. This newsletter started as a comic series about life in the future, and I wanted to maintain that part of my brand identity.
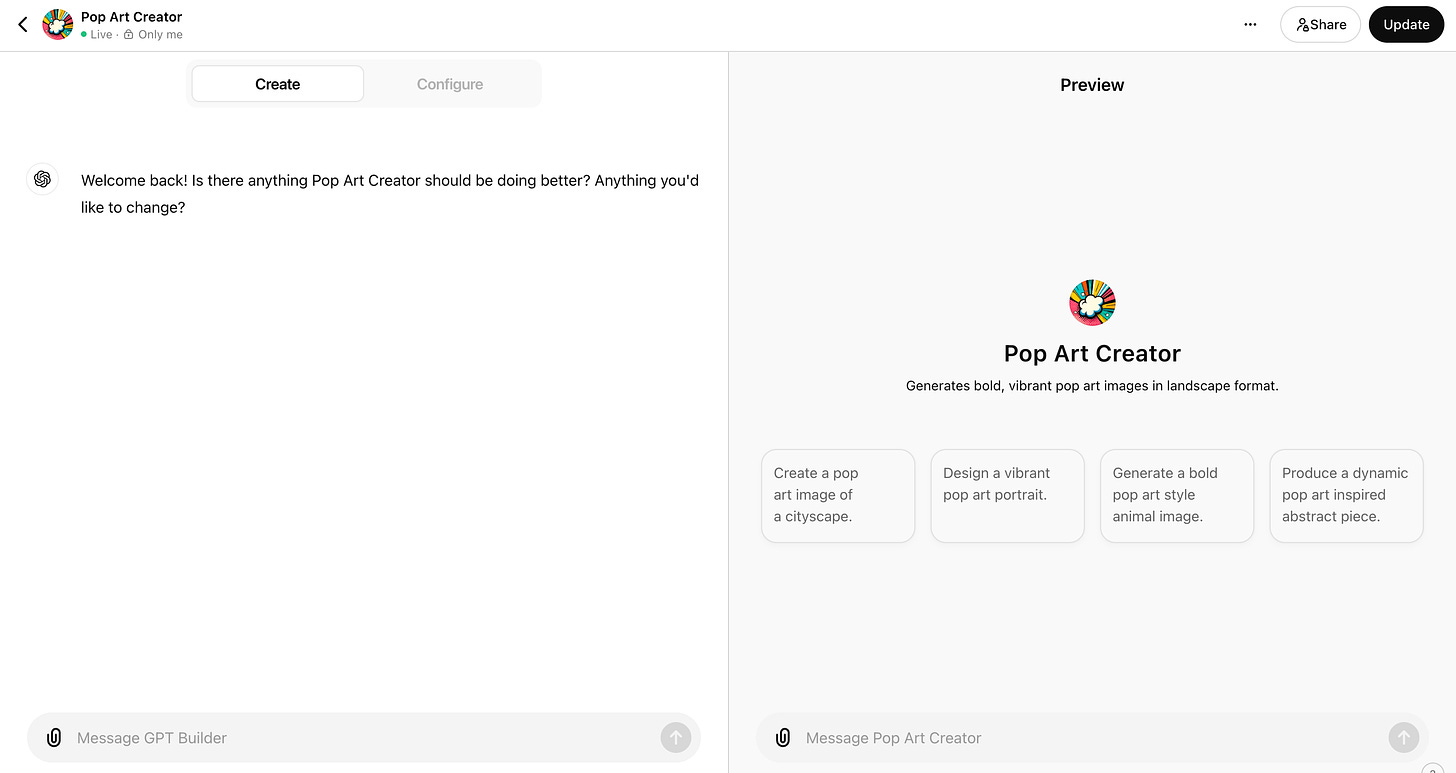
Based on my testing, I got the best results when setting the art style I wanted as my GPT’s name:
- What didn’t work: When I used the name “Year 2049 Image Generator”, it biased the images and made them a bit too futuristic and cyberpunk-y.
- What worked: When I changed the GPT name to “Pop Art Generator”, the results were much more aligned with what I wanted.
This is aligned with my previous recommendation of giving GPTs an action-based identity.
Prompt used:
You are a pop art image generator

Other styles you can use:
- Photorealistic
- Sketch
- 3D
- Oil painting
- Cartoon
- Art movements: impressionism, surrealism, baroque, rococo, cubism, etc.
Step 3: Set the image dimension
ChatGPT only generates images in 3 dimensions:
- Square - 1024x1024 pixels (all images are square by default)
- Landscape - 1792x1024 pixels
- Portrait - 1024x1792 pixels
For my use case, I needed cover images to always be in landscape. I added that instruction so I wouldn’t have to repeat it every time.
Prompt used:
You will only create images in a landscape format
Step 4: Set your main colours
The final piece of the puzzle is deciding your colour palette. Along with your art style, it’s the other major factor that solidifies your visual identity.
I experimented a lot with this:
- I uploaded an image of the colour palette I wanted in the knowledge base
- I gave specific HEX codes for the colours I wanted to use in the instructions
Ultimately, the simplest instruction was the most effective: I just described which colours I wanted to use.
I wanted to use the red and blue from the Year 2049 logo, along with two neutral colours so the images don’t look too chaotic:
Prompt used:
You will always use red, blue, beige, and dark grey as your colour palette.
It doesn’t generate the exact colour shades I want, but all the images still look consistent and coherent which is what I care about the most.
When to use a custom image GPT
This type of GPT can be useful to you in multiple scenarios:
- Making cover images for your blog
- Making images for your presentations
- Making images for your website
- Making storyboards
and more!
Further reading: How to make a GPT series
If you missed the previous breakdowns of building custom GPTs, check out my previous posts:

